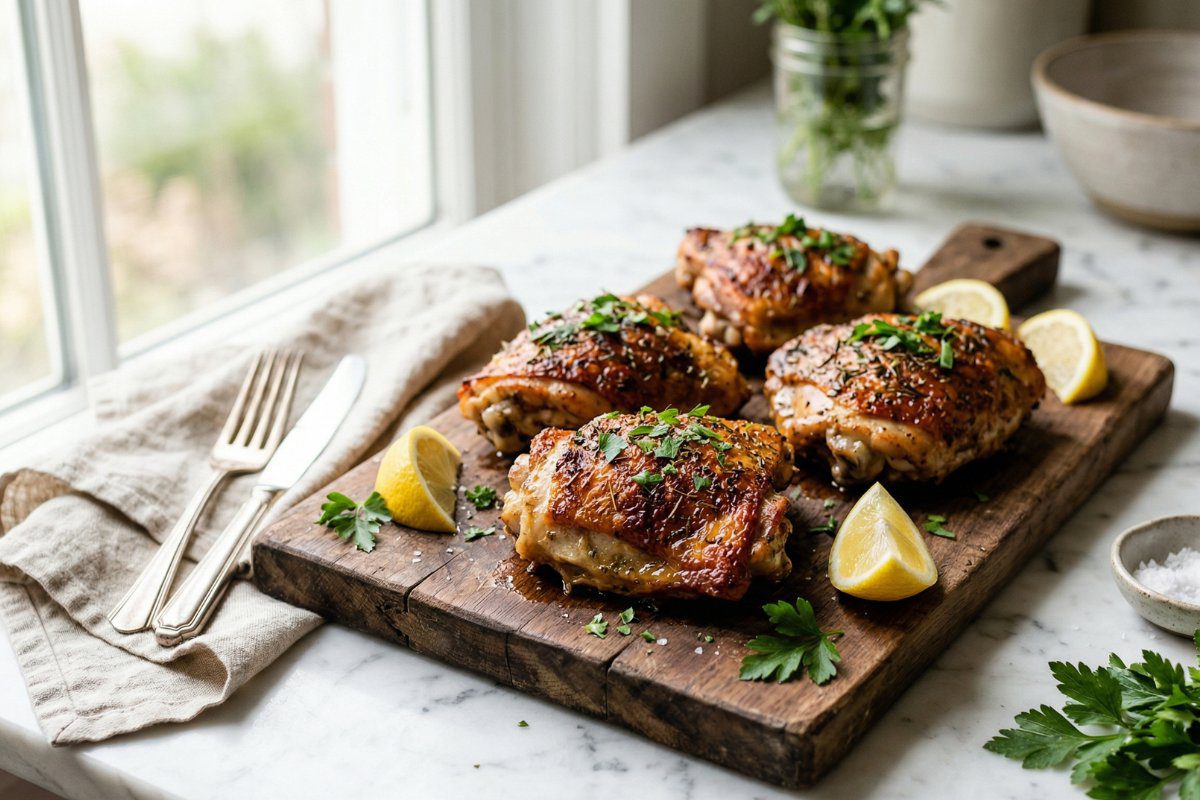
Baked Chicken Thigh Recipe That Actually Stays Juicy (No Dry Chicken Ever Again)
Can I tell you something embarrassing?
For the first two years I was cooking seriously, I was afraid of chicken thighs. I thought they were the “unhealthy” cut — too much fat, too many calories, not the right choice for someone trying to eat well. So I kept buying chicken breasts, kept drying them out in the oven, and kept wondering why my dinners never tasted as good as I wanted them to.
Then one Sunday I was at my neighbour’s house for dinner. She put a tray of baked chicken thighs on the table — golden, crackling skin, the whole kitchen smelling incredible — and I had one bite and thought: I’ve been doing this completely wrong.
That was three years ago. I’ve been making this baked chicken thigh recipe almost every single week since. It’s the recipe I turn to when I’m tired and don’t want to think. When I’m meal prepping for the week. When I have guests and want to impress without actually stressing. It has never once let me down.
Today I’m sharing everything — the exact technique, the spice combination I’ve landed on after dozens of tests, and all the small details that separate genuinely great baked chicken from the forgettable kind.
Table of Contents
- Recipe Card
- Why This Recipe Works
- Choosing the Right Chicken Thighs
- Ingredients and Why Each One Matters
- Step-by-Step Instructions
- Oven Temperature Guide
- 7 Mistakes That Ruin Baked Chicken Thighs
- Nutrition Facts
- Flavour Variations
- What to Serve With It
- Meal Prep and Storage
- Frequently Asked Questions
Baked Chicken Thigh Recipe
Ingredients
Method
- Preheat oven to 425°F. Place wire rack on baking tray.
- Pat chicken completely dry with paper towels.
- Mix spices with olive oil. Rub under skin and all over.
- Place skin-side up. Bake 38-42 minutes until 165°F internal temp.
- Rest 5 minutes then squeeze lemon juice over top.
Notes
- Overnight dry brine = crispiest skin possible. Salt + uncovered fridge = game changer.
- No wire rack? Foil-lined tray works. Flip halfway through for even browning.
- Boneless skinless: 400°F / 200°C for 25–28 minutes.
- Fridge: 4 days. Freezer: 3 months. Reheat in air fryer for crispy skin.
Why This Recipe Actually Works
Most baked chicken thigh recipes online give you safe, edible chicken. This one gives you something you’ll genuinely want to eat.
The difference comes down to three things:
High heat. 425°F isn’t negotiable. Lower temperatures don’t render the fat in the skin fast enough, so you end up with soft, greasy skin instead of a crisp, crackling crust. The high heat forces the fat to render rapidly, which is exactly what creates that deep golden colour and that satisfying crunch when you cut through it.
Completely dry skin. Fat crisps. Water steams. The moment there’s any moisture on the surface of the skin, the oven heat goes toward evaporating that water instead of crisping the fat. One minute with paper towels changes everything.
Seasoning under the skin. This is the step most recipes skip. The skin acts as a physical barrier — flavour rubbed on top of the skin sits on the skin, not in the meat. Lifting the skin and rubbing spices directly onto the flesh means every single bite is deeply seasoned, not just the outer layer.
These aren’t complicated techniques. They’re small decisions that compound into a dramatically better result.
Choosing the Right Chicken Thighs
Before we talk about cooking, let’s talk about buying — because the cut you choose matters.
Bone-in, skin-on thighs are the best choice for this recipe. The bone conducts heat gently through the meat, which helps it cook evenly and stay moist. The skin protects the meat from drying out and becomes the vehicle for all that crispy, flavourful goodness. This is the cut that delivers the best result with the least effort.
Boneless skinless thighs are a perfectly valid option — especially for meal prep, where you’re going to slice or shred the chicken anyway. They cook faster (25–28 minutes), they’re easier to eat, and they’re slightly lower in calories. The texture is still far superior to chicken breast. Just don’t expect crispy skin — there isn’t any.
Fresh vs frozen: Fresh is better for texture and skin crisping. If using frozen, thaw completely in the refrigerator overnight and pat very dry before cooking — frozen chicken holds significantly more surface moisture than fresh.
Size matters: Try to use thighs that are roughly the same size so they cook evenly. If you have one very large and one very small thigh on the same tray, the small one will be overcooked by the time the large one is done.
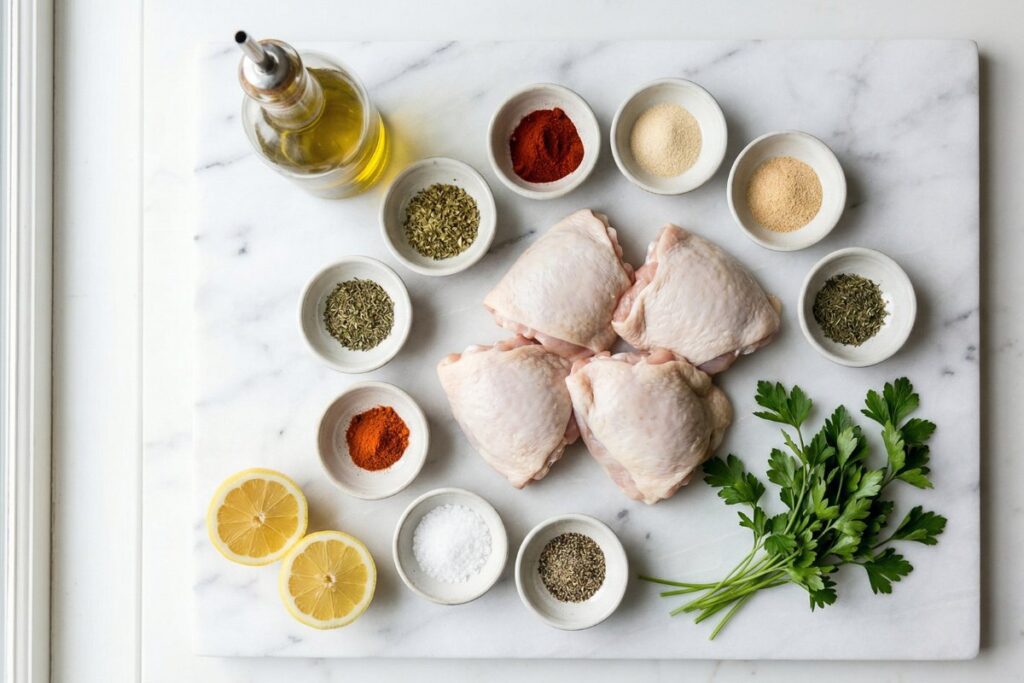
Ingredients and Why Each One Matters
I want to explain the why behind each ingredient — because when you understand why something is in a recipe, you’ll never forget to include it.
Smoked paprika (1½ tsp): This is the backbone of the spice blend. It adds a deep, slightly smoky flavour and — more importantly — contributes to that beautiful mahogany colour on the skin. Regular paprika works but smoked paprika adds a dimension of flavour that makes the chicken taste like it’s been cooking all day.
Garlic powder + onion powder (1 tsp each): Fresh garlic burns at 425°F and turns bitter. Garlic and onion powder give you all that savoury depth without the burnt bitterness. They also mix evenly into the spice rub and adhere to the skin better than fresh aromatics.
Brown sugar (1 tsp, optional): A small amount of sugar in a spice rub accelerates caramelisation in the oven, producing a deeper, more lacquered colour on the skin. It doesn’t make the chicken taste sweet — it just enhances the browning. I use it every time.
Dried oregano + thyme (½ tsp each): These two herbs work together to give the chicken an earthy, herbaceous quality that stops the spice blend from tasting flat. Mediterranean and American cooking both lean on this combination for a reason.
Cayenne pepper (¼ tsp, optional): Just enough to create a faint warmth in the background — not spicy, just alive. Leave it out if you’re cooking for children or sensitive palates.
Olive oil: Oil does two things: it helps the spice rub adhere to the skin, and it conducts heat directly onto the surface to help with browning. Avocado oil also works beautifully here and has a higher smoke point if that concerns you.
Lemon juice (after baking): Fresh lemon juice squeezed over hot chicken right before serving brightens the entire dish. The acidity cuts through the richness of the skin and makes all the other flavours more vivid. Don’t add it during baking — citrus juice in the oven can cause the skin to steam rather than crisp.
Step-by-Step Instructions
Step 1: Preheat Your Oven and Set Up Your Pan (5 minutes before you start)

Set your oven to 425°F / 220°C and let it fully preheat — not just until the light goes off, but for an extra 5–10 minutes after. A truly hot oven from the first minute the chicken goes in is what starts the crisping process immediately.
Line a baking tray with foil (easy clean-up) and place a wire rack on top. The rack is important: it lifts the chicken so hot air circulates underneath, meaning the bottom of the thigh crisps just like the top. If you don’t have a rack, place the chicken directly on the foil-lined tray and flip the chicken halfway through baking.
Step 2: Dry the Chicken — Thoroughly (2 minutes)

Take each chicken thigh out of its packaging and place it on a clean surface. Use paper towels to pat every surface completely dry — the skin on top, the flesh underneath, and the sides. Be thorough. This is not optional.
Pro tip: If you have 1–2 hours (or overnight), place the patted-dry chicken on a plate, uncovered, in the refrigerator. The cold air pulls residual moisture out of the skin and produces crispiness that you simply can’t achieve any other way. This is called a dry brine and it’s the single biggest upgrade you can make to this recipe.
Step 3: Make the Spice Rub (1 minute)
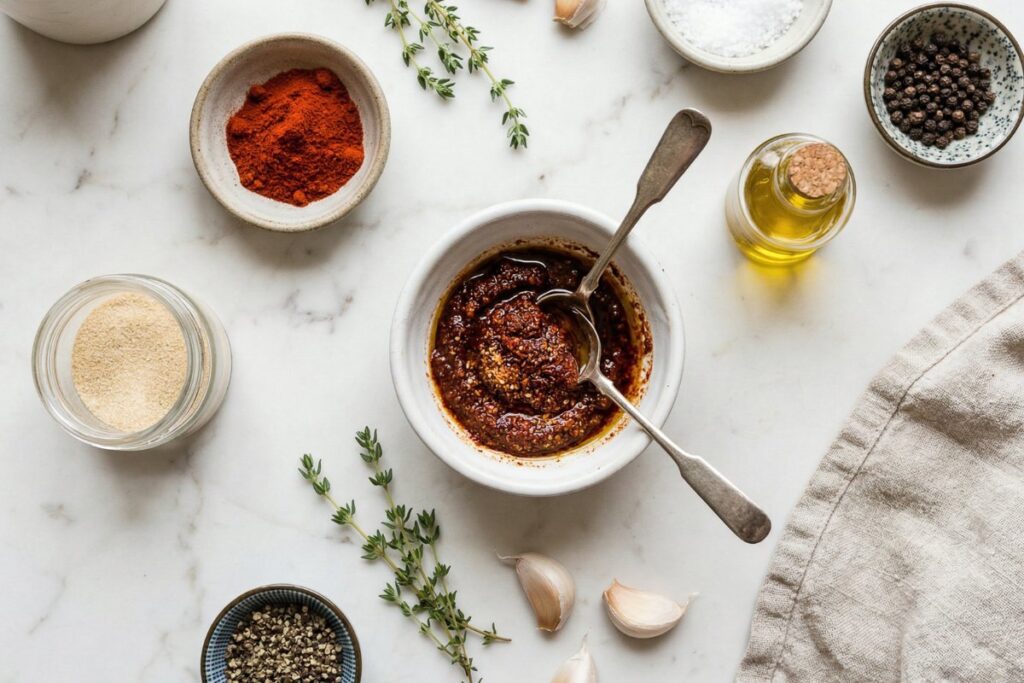
In a small bowl, combine the smoked paprika, garlic powder, onion powder, brown sugar (if using), oregano, thyme, salt, pepper, and cayenne. Add the olive oil and stir until it forms a thick, cohesive paste. The oil binds the spices together and helps them stick to the skin.
Step 4: Season — Generously and in the Right Places (3 minutes)
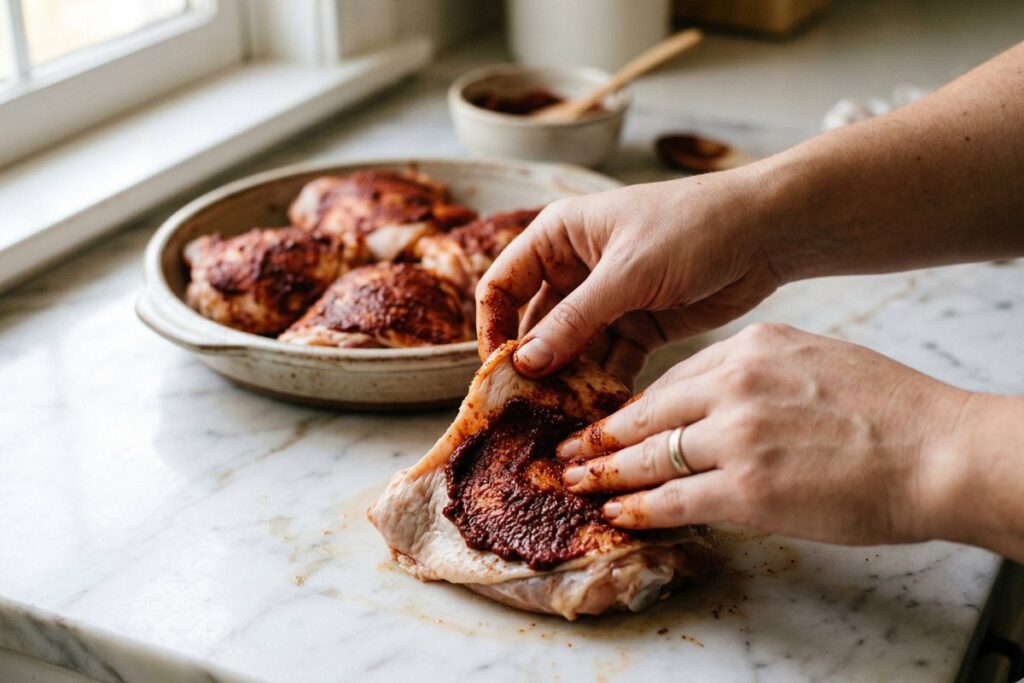
Here’s how I season each thigh:
First, gently slide your fingers under the skin at the thick end of the thigh and loosen it away from the meat — just enough to create a pocket. Take about a third of the spice rub and push it directly under the skin onto the flesh, spreading it as evenly as you can.
Then, rub the remaining spice mixture all over the outside of the chicken — over the skin, underneath on the bone side, and on the edges. Every surface should be covered.
This dual seasoning — under the skin AND over the skin — is what makes this recipe taste so much more flavourful than most.
Step 5: Arrange and Bake (38–42 minutes)
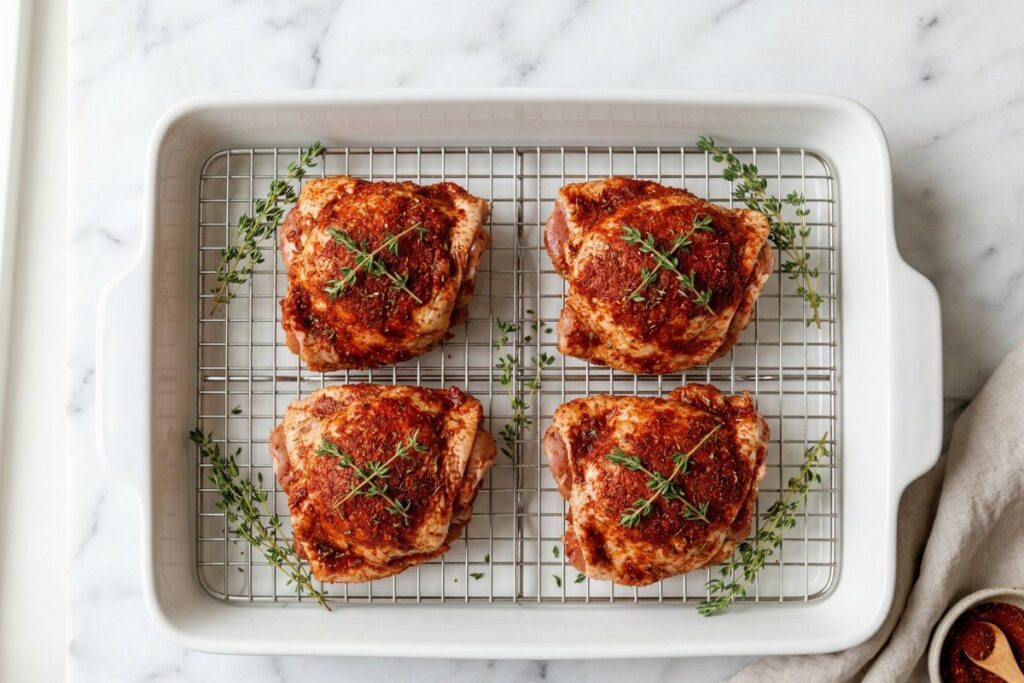
Place the seasoned thighs skin-side up on your rack, spaced at least 1 inch apart. They should not be touching. Resist the urge to add any liquid to the pan — we want dry heat, not steam.
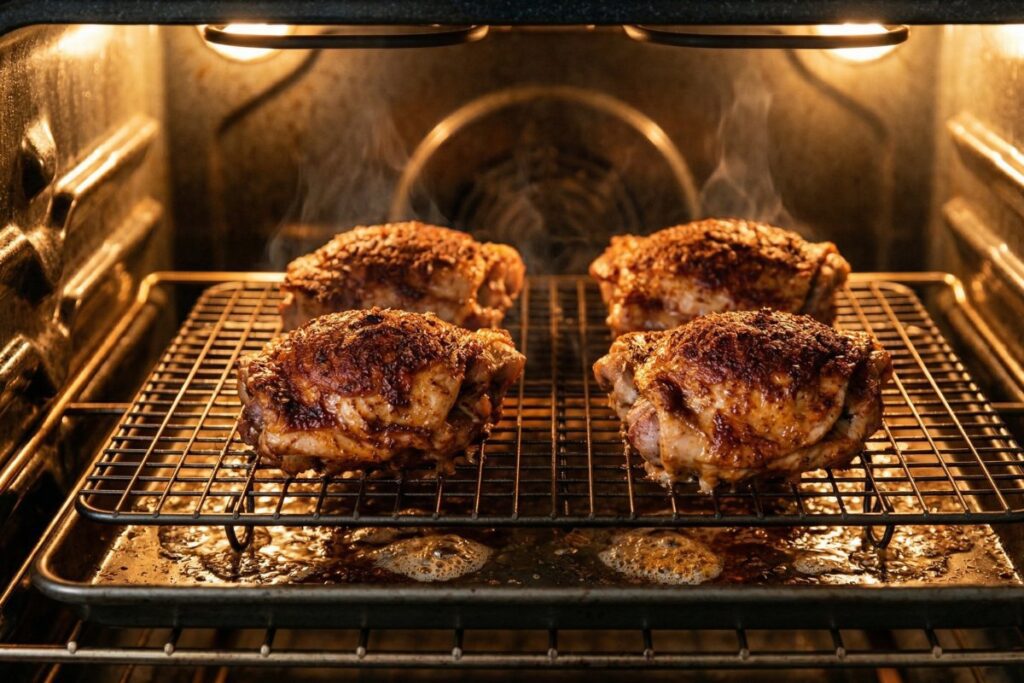
Slide into the oven and do not open the door for the first 30 minutes. Every time you open the oven you lose heat and slow down the crisping process.
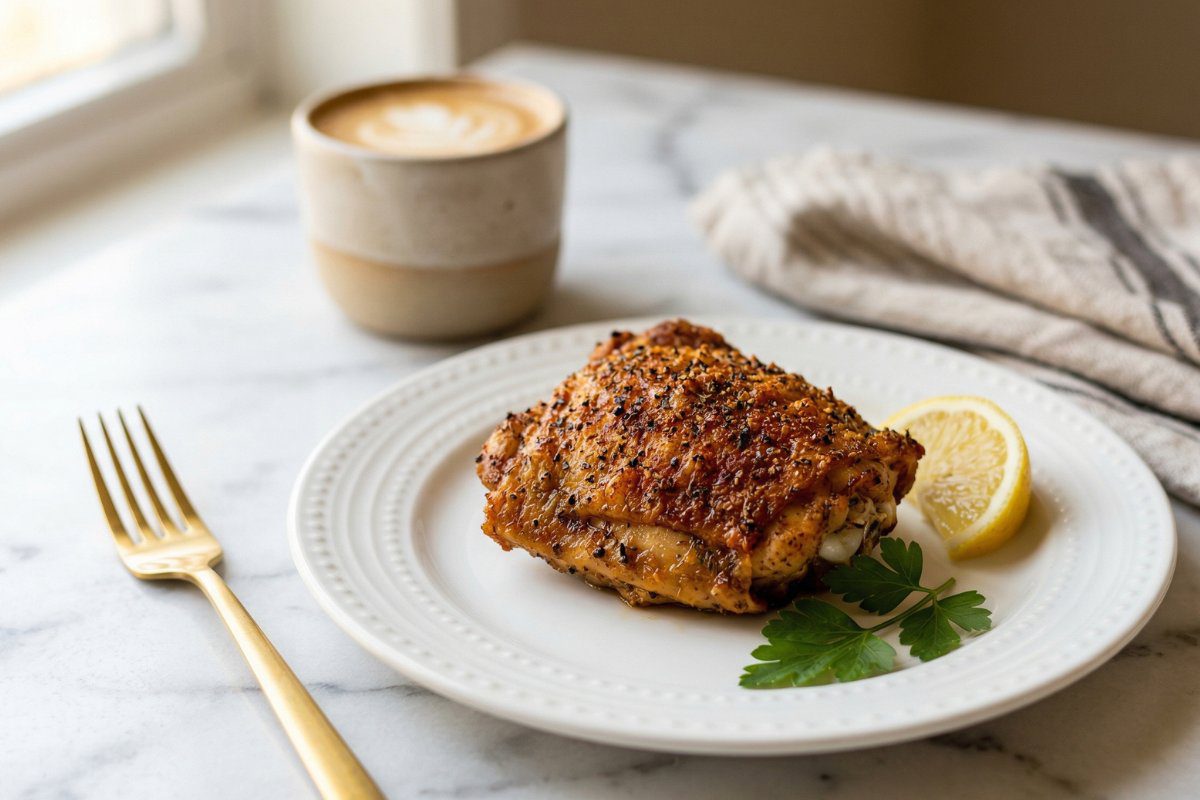
After 38 minutes, check the skin — it should be deep golden brown, almost mahogany. Check the internal temperature at the thickest point (not touching the bone). It should read 165°F / 74°C.
If the skin is golden but the temperature isn’t there yet, give it another 3–5 minutes. If the temperature is right but the skin isn’t as crispy as you’d like, turn on the broiler for 2–3 minutes — but watch it closely, it burns fast.
Step 6: Rest and Finish (5 minutes)
Remove from the oven and leave on the rack for 5 full minutes. Don’t cover it — covering traps steam and softens the skin you just worked to crisp.
After resting, squeeze fresh lemon juice over each thigh, scatter fresh parsley if using, and serve immediately.
Oven Temperature Guide
This is one of the most searched questions about baked chicken thighs — and the answer matters more than most recipes admit:
| Temperature | Time (Bone-In) | Skin Result | Meat Result | Best For |
|---|---|---|---|---|
| 375°F / 190°C | 45–50 min | Soft, pale | Very juicy | Gentle cooking, no rack |
| 400°F / 200°C | 40–45 min | Lightly crispy | Juicy | Good all-rounder |
| 425°F / 220°C ⭐ | 38–42 min | Deeply crispy | Juicy & tender | Best result overall |
| 450°F / 230°C | 30–35 min | Very crispy | Slightly drier | When short on time |
My recommendation: Always 425°F / 220°C for bone-in skin-on thighs. It’s the sweet spot where the fat renders completely and the skin crisps without the outside burning before the inside is cooked through.
For boneless skinless thighs: Drop to 400°F / 200°C and reduce time to 25–28 minutes. Without bone and skin to protect the meat, higher temperatures dry it out too quickly.
The one rule that overrides all of this: Use a meat thermometer. Time is a guideline. 165°F / 74°C is the only number that matters.
7 Mistakes That Ruin Baked Chicken Thighs
I’ve made every single one of these. Learn from my trials so yours comes out perfectly the first time.
Mistake 1: Skipping the Drying Step
Wet skin = steamed skin = rubbery skin. Dry skin = crispy skin. Pat every surface completely dry before seasoning. It’s 60 seconds that changes the entire outcome.
Mistake 2: Using a Cold Oven
If you put chicken into an oven that hasn’t fully preheated, the first 10–15 minutes are wasted while the oven comes up to temperature. The chicken sits in lukewarm air, begins to release moisture, and gets a head start on being steamed rather than roasted. Always fully preheat.
Mistake 3: Covering the Pan
Covering traps steam. Steam is the enemy of crispy skin. Bake uncovered, always. The only exception is if your chicken is browning too quickly — in that case, loosely tent with foil for the last 10 minutes.
Mistake 4: Overcrowding
Chicken releases a significant amount of steam as it cooks. If the pieces are crowded together, they create a steam environment around each other. They’ll cook, but the skin will be pale and soft. Use a large pan or two separate pans.
Mistake 5: Not Seasoning Under the Skin
Flavour sits where you put it. If you only season the outside, the meat itself will be bland regardless of how good the skin tastes. Two minutes lifting the skin and rubbing spices directly onto the flesh makes a night-and-day difference.
Mistake 6: Cutting In Too Soon
Cutting into the chicken immediately after baking causes the juices — all that moisture that keeps the meat tender — to run out onto the board. Five minutes of resting is all it takes for those juices to redistribute through the meat. Don’t skip it.
Mistake 7: Trusting Time Over Temperature
I cannot say this enough. Every chicken thigh is a different size. Every oven runs slightly differently. The only way to know your chicken is perfectly cooked — not underdone, not overdone — is a meat thermometer reading 165°F / 74°C at the thickest point.
Nutrition Facts Per Serving
Based on 1 bone-in skin-on chicken thigh, approximately 250g cooked weight
| Nutrient | Per Serving |
|---|---|
| Calories | ~320 kcal |
| Protein | 28–30g |
| Total Fat | 22g |
| Saturated Fat | 6g |
| Carbohydrates | 2g |
| Fibre | 0g |
| Sodium | ~380mg |
| Zinc | ~25% DV |
| Selenium | ~40% DV |
| Vitamin B6 | ~30% DV |
| Vitamin B12 | ~15% DV |
According to USDA FoodData Central, chicken thighs provide an excellent balance of protein, healthy fats, and micronutrients — particularly zinc (immune function), selenium (antioxidant protection), and B vitamins (energy metabolism).
For a lower-calorie option, removing the skin after baking reduces calories to approximately 220 kcal while keeping protein at 27g. This makes it one of the best options in a high-protein low-calorie meal plan.
Research from the American Journal of Clinical Nutrition consistently shows that meals providing 25–30g of protein per serving significantly reduce hunger hormones and total daily calorie intake — making this recipe genuinely useful for anyone managing their weight without sacrificing satisfaction.
Flavour Variations
Once you’ve mastered the base recipe, here are the variations I reach for most often:
Honey Garlic Baked Chicken Thighs
After applying the spice rub, whisk together 2 tablespoons of raw honey, 3 minced garlic cloves, and 1 tablespoon of soy sauce (or coconut aminos for gluten-free). Brush over the chicken in the last 15 minutes of baking. The honey caramelises into a sticky, lacquered glaze that is genuinely extraordinary.
Lemon Herb Chicken Thighs
Replace the paprika and cayenne with fresh lemon zest, 1 tablespoon of fresh rosemary, and 1 tablespoon of fresh thyme. Add extra garlic powder. Tuck thin lemon slices under and around the chicken while it bakes. Bright, clean, and beautiful for spring and summer.
Mediterranean Spiced Thighs
Add 1 teaspoon of za’atar and ½ teaspoon of sumac to the base spice rub. Serve with a spoon of Greek yogurt, sliced cucumber, cherry tomatoes, and warm pita. This is my dinner-party version — it looks and tastes impressive with almost no extra effort.
Spicy Harissa Chicken
Replace the spice rub with 2 tablespoons of harissa paste mixed with 1 tablespoon of olive oil and 1 teaspoon of honey. Rub all over the chicken and bake as directed. Bold, slightly smoky, and deeply spiced. Serve with cooling yogurt and flatbread.
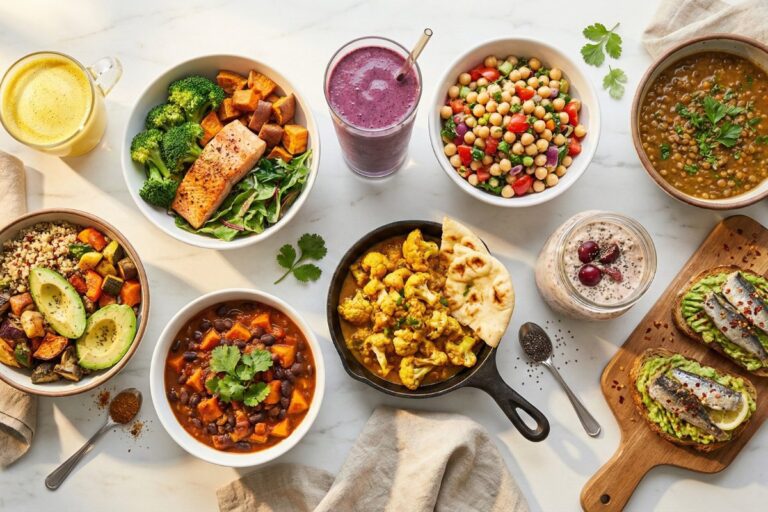
One-Pan Chicken and Roasted Vegetables
Toss broccoli florets, diced sweet potato, red onion, and bell pepper with olive oil and the same spice mix. Spread around the chicken thighs on the baking tray. Everything roasts together — the vegetables absorb the chicken juices and become extraordinary. Maximum flavour, one pan, minimal washing up.
What to Serve With Baked Chicken Thighs
The beauty of this recipe is how versatile it is. Here are my favourite pairings for different situations:
Weeknight dinner: Serve alongside roasted broccoli or asparagus and a scoop of steamed quinoa or brown rice. Simple, balanced, and on the table in under an hour total.
Meal prep bowls: These thighs are the protein centrepiece of my chicken meal prep bowls — cooked on Sunday, eaten four different ways across the week.
Light lunch: Slice the cooked chicken over a big green salad with avocado, cherry tomatoes, cucumber, and a tahini-lemon dressing. Clean, satisfying, and genuinely filling thanks to the protein.
Comfort dinner: Serve with mashed sweet potato and steamed green beans. The rich, savoury chicken against the natural sweetness of the mash is one of my favourite flavour combinations in all of cooking.
Guest dinner: The Mediterranean variation with Greek yogurt, warm pita, and a simple fattoush salad looks and tastes like a restaurant meal. Nobody will believe you made it in 45 minutes.
For a full week of meals built around this chicken, my high-protein meal prep guide walks through exactly how to batch-cook and use chicken thighs across multiple recipes without getting bored. And if you want even more quick dinner ideas using chicken, 30-minute high-protein dinners is the place to go.
Meal Prep and Storage
Baked chicken thighs are one of the best proteins you can batch-cook. Here’s my exact system:
Cook a full batch on Sunday. I typically make 6–8 thighs at once — same method, same pan, just scaled up. The oven does all the work.
Cool completely before storing. Never put hot chicken directly into airtight containers — the trapped steam makes the skin soft and creates condensation that shortens shelf life.
Refrigerator: Store in airtight containers for up to 4 days. The flavour actually improves on day 2 as the spices penetrate deeper into the meat.
Freezer: Wrap individual thighs in parchment paper, then place in a labelled freezer bag. Keeps for up to 3 months. Reheat from frozen in a 350°F oven for 20–25 minutes, or thaw overnight in the fridge first.
Reheating for crispy skin: This is where most people go wrong. The microwave makes skin rubbery. For the best result: air fryer at 375°F for 5–6 minutes, or oven at 375°F for 10–12 minutes. The skin crisps right back up as if it’s freshly baked.
This recipe fits beautifully into the healthy chicken meal prep approach — cook once, eat differently every day. Whole thigh for dinner on Monday, sliced over salad on Tuesday, shredded into a wrap on Wednesday. One recipe, a full week of variety.
Frequently Asked Questions
Do I cover chicken thighs when baking in the oven? No — bake completely uncovered the entire time. Covering traps steam and prevents the skin from crisping. High, dry heat and an uncovered pan are what produce that golden, crackling skin. The only exception: if the skin is browning too fast, loosely tent with foil for the final 10 minutes.
How long do you bake chicken thighs at 425°F? Bone-in skin-on chicken thighs bake at 425°F for 38–42 minutes. But always verify with a meat thermometer — the internal temperature at the thickest point (not touching bone) must reach 165°F / 74°C. Size varies between thighs, so time is a guide, not a guarantee.
Why is my chicken skin not getting crispy? Three likely causes: (1) the skin wasn’t patted completely dry before seasoning, (2) the oven temperature was below 400°F, or (3) the pan was overcrowded, creating a steam environment. Fix all three and your skin will be deeply crispy every time.
Can I make this recipe without a wire rack? Yes. Place the chicken skin-side up directly on a foil-lined baking tray. Flip the chicken halfway through baking so the bottom gets some direct contact with the hot tray rather than sitting in any rendered fat. The result is very good — a wire rack just elevates it slightly.
Is this recipe suitable for a keto or low-carb diet? Yes, completely. The entire recipe as written contains less than 2g of carbohydrates per serving (from the spices only). It’s naturally gluten-free, dairy-free, and fits keto, paleo, and Whole30 eating patterns without any modifications.
Can I use this same recipe in an air fryer? Absolutely — and the result is excellent. Air fry at 400°F / 200°C for 22–25 minutes, flipping halfway through. The circulating hot air in an air fryer often produces even crispier skin than the oven in less time.
How do I get the most flavour into the chicken? Two things make the biggest difference: (1) season under the skin, not just on top of it, and (2) let the chicken dry-brine in the fridge uncovered for at least 1 hour (ideally overnight) after applying a light coating of salt. These two steps together produce chicken that tastes deeply seasoned all the way through.
Can I marinate the chicken instead of using a dry rub? Yes. A wet marinade of olive oil, lemon juice, garlic, and herbs works beautifully — marinate for 2–8 hours in the refrigerator. For the crispiest skin, pat the chicken dry after marinating and let it air-dry uncovered in the fridge for 30 minutes before baking. This removes the surface moisture from the marinade and allows the skin to crisp properly.
One Last Thing
I know there are thousands of baked chicken thigh recipes online. Most of them will give you chicken that’s edible. Some of them will give you chicken that’s good.
This recipe — with the high heat, the completely dry skin, the seasoning under the skin, the wire rack, and the five minutes of patience at the end — gives you chicken that’s genuinely great. The kind you eat standing at the counter because you can’t wait to sit down. The kind that makes people ask what you did differently.
The answer is: not much. Just the right technique, applied consistently.
Make it this week. And when someone asks what your secret is, feel free to tell them.
Tried this baked chicken thigh recipe? Leave a comment below — I read every single one. Save it to your Easy Dinner Recipes or High-Protein Meal Prep board on Pinterest so you can find it again when you need it most.
More Recipes to Try Next
- High-Protein Chicken and Rice — the perfect side dish pairing
- Chicken Meal Prep Bowls — turn these thighs into a full week of meals
- 30-Minute High-Protein Dinners — more quick, satisfying weeknight options
- Chicken Fajita Meal Prep — another crowd-pleasing chicken prep favourite
- High-Protein Meal Prep — build your entire week around protein-rich meals
- Easy Chicken Meals — simple, healthy chicken recipes for every night
References
- USDA FoodData Central — Chicken Thigh Nutrition
- American Journal of Clinical Nutrition — Dietary Protein and Satiety
- Harvard T.H. Chan School of Public Health — Protein Sources
- USDA Food Safety and Inspection — Safe Cooking Temperatures